I'm taking part in a swap on UKS with 8 other ladies and we are making an Alice in Wonderland Jigsaw.
We are all decorating 9 pieces and then we will receive one piece from each participant making a finished Jigsaw with 9 different pieces.
Here is mine, almost ready to send in the post so it can be swapped with all the others. I can't wait to get my Jigsaw back, there have been some gorgeous creations made already.
My puzzle pieces don't have a set theme, they are a bit of a mixture with Alice, "Eat me", the Cheshire Cat, the Playing Cards, Hearts and either the Queen, Rabbit or the Mad Hatter. I wanted them to have an "old book" feel.
Going to get my thinking head out of the cupboard now and make plans for my next swap..........Christmas Fairy Dressforms!
Thanks for looking X
Friday, 21 October 2011
Tuesday, 21 June 2011
Artsycrafts weekend
I've just been lucky enough to spend another weekend at an Artsycrafts event in Warrington. The time just flew by, the company was great, the projects were lovely and we had a fantastic time.
On Saturday we used Paperartsy fresco finish paints and grungeboard on the back of a wooden frame:
For our next project we changed colours and we used the paints on some glass bottles:

On Saturday we used Paperartsy fresco finish paints and grungeboard on the back of a wooden frame:
For our next project we changed colours and we used the paints on some glass bottles:

For our final project we used moulds, plaster and the fresco finish paints to create an antiqued panel.
I didn't use this lion mould but I'm going to use him at home, I love him. I used a cameo mould:I love these weekends, so thank you Lin and Leandra and I can't wait for next time.
p.s. I do apologise for the weird placing of some of the text in this post - sometimes blogger editing will NOT do as it is told! LOL X
Tuesday, 31 May 2011
May Tag Swap
This is one of 6 tags I made for the May tag swap on UKS:
The tag had to include the colour green and something mystical/mythical.
The background was coloured with distress stains swiped over some clear embossed stars (bit hard to see here). This was then overstamped with foliage using distress inks. The face is a Studio 490 stamp and my doors were inked with black fresco finish paint, then fresco crackle, then fresco finish green paint.
When you look through the garden gate this is what you see:
More clear embossed stars with a distress ink background, then fairies and toadstools by Lavinia stamps and foliage by Elusive Images. The fairies have a little bit of stickles on their wings.
Thanks for looking. Going to do some baking with my son now - I will try not to eat the finished result but I know already that I will fail! X
The tag had to include the colour green and something mystical/mythical.
The background was coloured with distress stains swiped over some clear embossed stars (bit hard to see here). This was then overstamped with foliage using distress inks. The face is a Studio 490 stamp and my doors were inked with black fresco finish paint, then fresco crackle, then fresco finish green paint.
When you look through the garden gate this is what you see:
More clear embossed stars with a distress ink background, then fairies and toadstools by Lavinia stamps and foliage by Elusive Images. The fairies have a little bit of stickles on their wings.
Thanks for looking. Going to do some baking with my son now - I will try not to eat the finished result but I know already that I will fail! X
Wednesday, 25 May 2011
Magical Places
During the Easter holiday my lovely hubby took us to Disneyland Paris for 3 nights and Paris itself for 3 nights. We had a fantastic holiday and we were lucky with the weather too most of the time.
We walked and walked and ate and drank some delicious things.
We were also quite brave about some of the rides we went on - I can't believe that we ALL went on two rides that had a 360 degrees loop - woo hoo! It was all brilliant but exhausting and we needed a good rest when we got home! Lol! Unfortunately it was straight back to work and school but I really wish we could have stayed for a month, we loved every minute.
I have some tag photos to post soon and with a bit of luck I'll be doing some more crafting before long. It's been a bit manic around here as we are in the process of converting a playroom/dumping room (complete with massive Barney the Dinosaur and Teletubby paintings on the walls- inherited when we moved in to this house 9 years ago- yes we like to get jobs done quickly - ha ha!) in to a sitting room.
X
![]() |
| Here at last! |
![]() |
| The view from our bedroom window. |
![]() |
| One of the floats on the parade |
![]() |
| Coffee in Paris |
![]() |
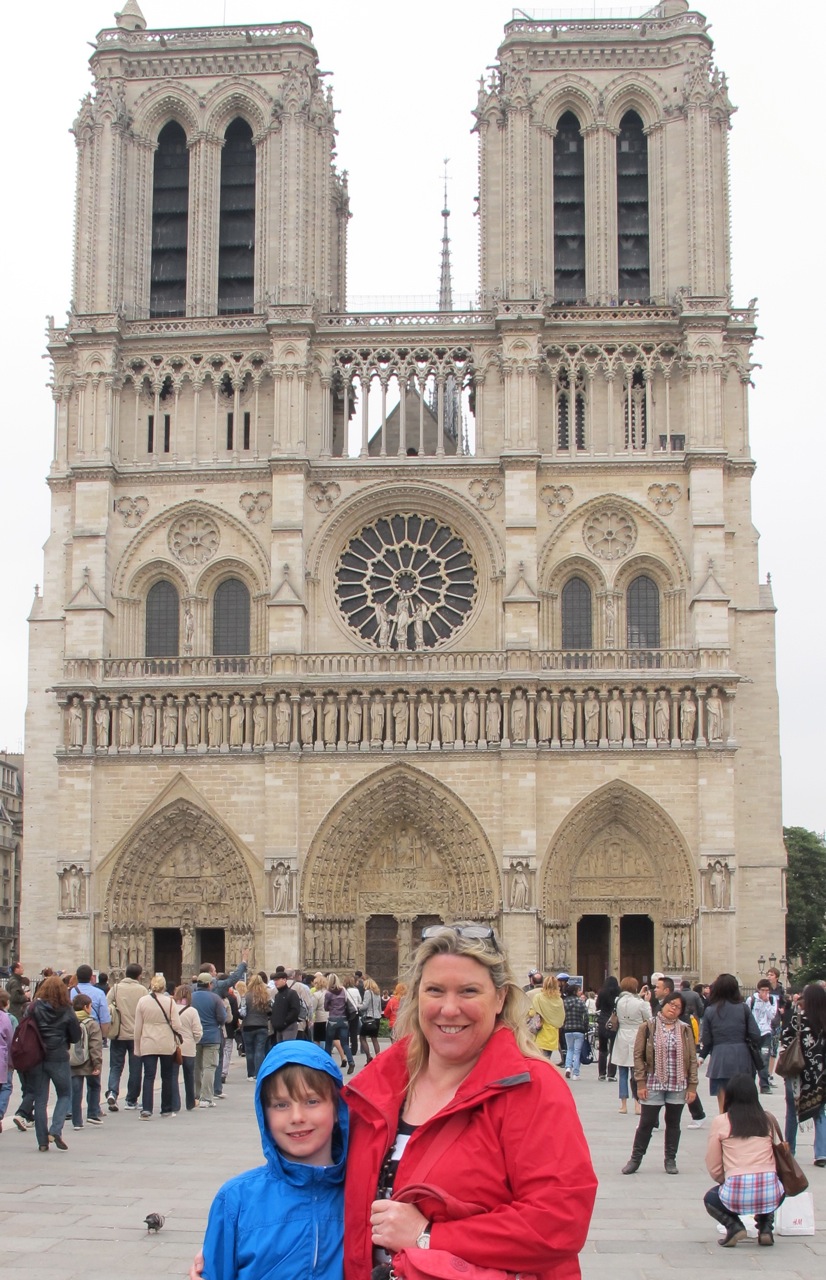
| Outside Notre Dame |
![]() |
| The Louvre |
![]() |
| One of the beautiful Louvre ceilings |
We were also quite brave about some of the rides we went on - I can't believe that we ALL went on two rides that had a 360 degrees loop - woo hoo! It was all brilliant but exhausting and we needed a good rest when we got home! Lol! Unfortunately it was straight back to work and school but I really wish we could have stayed for a month, we loved every minute.
I have some tag photos to post soon and with a bit of luck I'll be doing some more crafting before long. It's been a bit manic around here as we are in the process of converting a playroom/dumping room (complete with massive Barney the Dinosaur and Teletubby paintings on the walls- inherited when we moved in to this house 9 years ago- yes we like to get jobs done quickly - ha ha!) in to a sitting room.
X
Wednesday, 20 April 2011
Queen for a Day
Here is my tag for another swap on UKS
The background is Distress Stains and Distress Ink. This was then stamped over with a script stamp (Crafty Individuals) using Distress Ink.
The girl (Paper Artsy) was stamped on tissue paper and stuck to the tag. The crown at the top right is die cut from a book page and glittered with Distress Rock Candy stickles, then some bling was added to the points of the crown.
I stamped "Queen for a Day" (by Anna Griffin) on the bottom, and added a crown from Girls Paperie above that, and on the girl's head. Then came more bling around the ribbon strip and on the bottom of the tag. I stamped the threaded ribbon with a small image by Making Memories.
Hope everybody is enjoying this beautiful Spring weather.
X
The background is Distress Stains and Distress Ink. This was then stamped over with a script stamp (Crafty Individuals) using Distress Ink.
The girl (Paper Artsy) was stamped on tissue paper and stuck to the tag. The crown at the top right is die cut from a book page and glittered with Distress Rock Candy stickles, then some bling was added to the points of the crown.
I stamped "Queen for a Day" (by Anna Griffin) on the bottom, and added a crown from Girls Paperie above that, and on the girl's head. Then came more bling around the ribbon strip and on the bottom of the tag. I stamped the threaded ribbon with a small image by Making Memories.
Hope everybody is enjoying this beautiful Spring weather.
X
Wednesday, 6 April 2011
A bit of Bunting
I'm doing a Bunting swap on UKS and this is my effort.
The light was shocking when I took my photo so it looks a bit "muddy" - it's much brighter than this.
The background was done with Distress Stains ( so quick!), then overstamped with Crafty Individual stamps and an Italian script stamp using Distress Inks. I sprayed the whole thing with gold perfect pearl mist and added some German scrap, some lace and a punched heart with a button on top of it.
I sprayed some book pages with pink glimmer mist and made some flowers using Tim Holtz Tattered Florals die and finished them off with a gem centre.
I used green Inka Gold on all the edges.
I'd better try to get the Post Office with them this week or else it will be a last minute job. ( My forte!)
Thanks for looking X
The light was shocking when I took my photo so it looks a bit "muddy" - it's much brighter than this.
The background was done with Distress Stains ( so quick!), then overstamped with Crafty Individual stamps and an Italian script stamp using Distress Inks. I sprayed the whole thing with gold perfect pearl mist and added some German scrap, some lace and a punched heart with a button on top of it.
I sprayed some book pages with pink glimmer mist and made some flowers using Tim Holtz Tattered Florals die and finished them off with a gem centre.
I used green Inka Gold on all the edges.
I'd better try to get the Post Office with them this week or else it will be a last minute job. ( My forte!)
Thanks for looking X
Friday, 1 April 2011
Quick Anniversary Card
I suddenly remembered an Anniversary on Monday so I needed a quick card:
The star stamp is by Lavinia, stamped in rocket gold ink. The paper is Prima and I stamped on the right hand side of it using pink glimmer mist and a border stamp - love the smudgy effect.
The hearts were punched out of Kraft cardstock, inked with the stars again and outlined with stickles.
The banner stamp is by Clarity stamps and the ribbon is SU.
It's all much more "glimmery" in real life! X
The star stamp is by Lavinia, stamped in rocket gold ink. The paper is Prima and I stamped on the right hand side of it using pink glimmer mist and a border stamp - love the smudgy effect.
The hearts were punched out of Kraft cardstock, inked with the stars again and outlined with stickles.
The banner stamp is by Clarity stamps and the ribbon is SU.
It's all much more "glimmery" in real life! X
Subscribe to:
Posts (Atom)